ディズニー・ドリームライトバレー:リンゴの入手方法 In this game guide, we will show you how to get apples in Disney Dreamlight Valley. Whether you’re a beginner or a seasoned player, these tips will help you collect those juicy fruits in no time. So put on your virtual gardening gloves and let’s get started! Step 1 Planting the Seed To get apples, you’ll need to plant apple tree seeds. You can purchase these seeds from the in-game store using your hard-earned coins. Once you have the seeds, head over to your garden and find a suitable spot to plant them. Make sure the soil is fertile and well-watered for optimal growth. Step 2 Nurture and Care Now that you’ve planted the seeds, it’s time to take care of your apple trees. Water them regularly and make sure they get enough sunlight. Don’t forget to remove any pesky weeds that might hinder their growth. Remember, a happy tree produces the tastiest apples! Step 3 Patience is a Virtue Growing apple trees takes time, so be patient. It might take a few in-game days for your trees to bear fruit. While you wait, make sure to check on them and provide the necessary care. Soon enough, you’ll see those beautiful apples hanging from the branches. Step 4 Harvest Time! Once your apple trees have matured and the fruits have ripened, it’s time to harvest them. Simply click on the tree and collect the apples. Make sure to gather them before they fall to the ground and get spoiled. The more apples you collect, the more rewards you’ll earn. Step 5 Repeat and Expand Now that you know how to get apples, don’t stop at just one tree. Expand your orchard and plant more apple trees. This will increase your chances of getting a bountiful harvest and earning even more rewards. Keep growing and enjoy the delicious fruits of your labor! So there you have it, a guide on how to get apples in Disney Dreamlight Valley. Follow these steps and soon you’ll have a thriving apple orchard in the game. Happy harvesting and enjoy the sweet taste of success!

このガイドでは、ディズニー・ドリームライト・バレーでリンゴを手に入れて使う方法について概説しています

「スカイリム:メリディアのビーコンを見つける方法」 In this game guide, I will show you how to find Meridia’s Beacon in Skyrim. Are you ready for an epic adventure? Let’s go! Chapter 1 The Call of Meridia First, you need to listen to rumors and talk to people in Skyrim. Keep your ears open for any mention of a strange light or a beacon. This will trigger the start of your quest. Chapter 2 Investigating the Beacon Once you have heard about the beacon, it’s time to start investigating. Head to the location where the beacon is rumored to appear. Don’t forget to bring your trusty weapon and some potions. You never know what dangers await you! Chapter 3 Solving the Puzzle When you finally find the beacon, you will notice that it’s not just a simple item. It’s actually a puzzle! You need to solve this puzzle to unlock its true power. Don’t worry, it’s not as difficult as it seems. Just pay attention to the hints and use your brain. Chapter 4 Unleashing Meridia’s Power After solving the puzzle, you will unleash Meridia’s power. This will grant you a special ability or a unique weapon. It’s definitely worth the effort! So make sure to complete this quest and reap the rewards. Chapter 5 Wrapping Up Congratulations! You have successfully found Meridia’s Beacon in Skyrim. Now, go out there and show off your newfound power. And remember, always stay vigilant and keep exploring. There are countless adventures waiting for you in the world of Skyrim. That’s all for this game guide. I hope you found it helpful and entertaining. Until next time, happy gaming!

「スカイリムのサイドクエスト、The Break of Dawnを始めるためには、まずゲーム内で最も見つけにくいアイテムの一つであるメ...

ディズニー・ロルカーナ:デッキの作り方 In this game guide, we will show you how to build a powerful deck in Disney Lorcana. Get ready to dominate the battlefield with your strategic deck-building skills! このゲームガイドでは、ディズニー・ロルカーナで強力なデッキを作る方法を紹介します戦場を支配するために、戦略的なデッキ構築のスキルを磨きましょう! Step 1 Choose Your Heroes ステップ1:ヒーローを選ぶ The first step in building a deck is to choose your heroes. Each hero has unique abilities and playstyles, so make sure to pick ones that complement each other. Maybe you want the magical powers of Mickey Mouse or the brute strength of Gaston. The choice is yours! デッキを構築するための最初のステップは、ヒーローを選ぶことですそれぞれのヒーローには独自の能力とプレースタイルがありますので、お互いに補完しあうヒーローを選ぶようにしましょうもしかしたら、ミッキーマウスの魔法の力が欲しいのか、ガストンの蛮力が欲しいのかもしれません選択はあなた次第です! Step 2 Collect Cards ステップ2:カードを集める Now that you have your heroes, it’s time to collect cards. Cards are the building blocks of your deck and come in various types such as spells, units, and equipment. Explore different game modes, complete quests, and participate in events to earn more cards. Remember, a diverse collection of cards will give you more options during battles. ヒーローを手に入れたら、いよいよカードを集める時ですカードはデッキの構築要素であり、魔法、ユニット、装備などさまざまなタイプがありますさまざまなゲームモードを探索し、クエストを完了し、イベントに参加して、より多くのカードを手に入れましょう多様なカードのコレクションは、バトル中により多くの選択肢を与えてくれます Step 3 Build Your Deck ステップ3:デッキを構築する Now comes the fun part – building your deck! Take a look at your card collection and start selecting cards that synergize well with your heroes. Consider the mana cost, abilities, and overall strategy of each card. A balanced mix of offensive, defensive, and support cards will give you an edge in battles. Experiment with different combinations and find what works best for your playstyle. 楽しい部分がやってきました!デッキを構築しましょう!カードのコレクションを見て、ヒーローと相性の良いカードを選びましょうマナコスト、能力、そして各カードの全体的な戦略を考慮してください攻撃、防御、サポートのバランスの取れた組み合わせは、バトルで優位に立つことができますさまざまな組み合わせを試して、自分のプレースタイルに最適なものを見つけましょう Step 4 Test and Refine ステップ4:テストして洗練させる Once you have built your deck, it’s time to put it to the test! Play matches against other players or AI opponents to see how your deck performs. Pay attention to your win rate, card synergies, and any weaknesses that may arise during battles. Don’t be afraid to make adjustments and refine your deck based on your experiences. Remember, the best decks are often the result of trial and error. デッキを構築したら、それをテストする時です!他のプレイヤーやAI対戦相手とのマッチをプレイして、デッキのパフォーマンスを確認しましょう勝率、カードの相性、そしてバトル中に生じる可能性のある弱点に注目してください経験に基づいてデッキを調整し、洗練させることをおそれずに行いましょう覚えておいてください、最高のデッキはしばしば試行錯誤の結果です So there you have it – a guide on how to build a deck in Disney Lorcana. With the right heroes, cards, and strategies, you’ll be well on your way to becoming a formidable force in the game. Good luck and have fun! 以上が、ディズニー・ロルカーナでデッキを構築する方法のガイドです適切なヒーロー、カード、そして戦略を持っていれば、ゲーム内で強力な力となることでしょう幸運を祈り、楽しんでください!

「キャラクター、アイテム、アクションを慎重にバランスさせて、初めてのディズニー・ロルカーナデッキを作りましょう!」

デイブ・ザ・ダイバー:装備を変更する方法 In this game, Dave the Diver, you’ll need to know how to change your equipment to succeed in your underwater adventures. Whether it’s upgrading your oxygen tank or swapping out your trusty harpoon gun for a shiny new one, mastering the art of equipment management is key. So, how do you change your equipment in Dave the Diver? Fear not, my fellow underwater explorers, for I shall guide you through this process step by step. Step 1 Access the Equipment Menu To begin, you’ll need to open the Equipment Menu. Look for the icon that resembles a toolbox or a gear, usually located in the top right corner of the screen. Once you’ve found it, give it a tap. Step 2 Select the Equipment Category After opening the Equipment Menu, you’ll see different categories of equipment, such as oxygen tanks, harpoon guns, and diving suits. Choose the category of equipment you wish to modify by tapping on its corresponding icon. Step 3 Browse and Choose Now that you’re in the selected equipment category, you’ll be presented with a range of options to choose from. Take your time to browse through the available equipment and find the one that suits your needs. Once you’ve made your decision, tap on the equipment you wish to equip. Step 4 Confirm and Enjoy Almost there! Before your newly chosen equipment is officially equipped, the game will ask you to confirm your selection. Double-check that you’ve chosen the right equipment, and if everything looks good, go ahead and tap the confirmation button. Now you’re ready to dive into the depths with your upgraded gear! Remember, my fellow divers, changing your equipment can greatly enhance your abilities and make your underwater adventures even more epic. So don’t be afraid to experiment and find the perfect setup for your diving escapades. Happy diving, and may the underwater treasures be forever in your favor!

「デイブ・ザ・ダイバー」でギアを変える方法が知りたい場合は、以下のことを知っておく必要があります

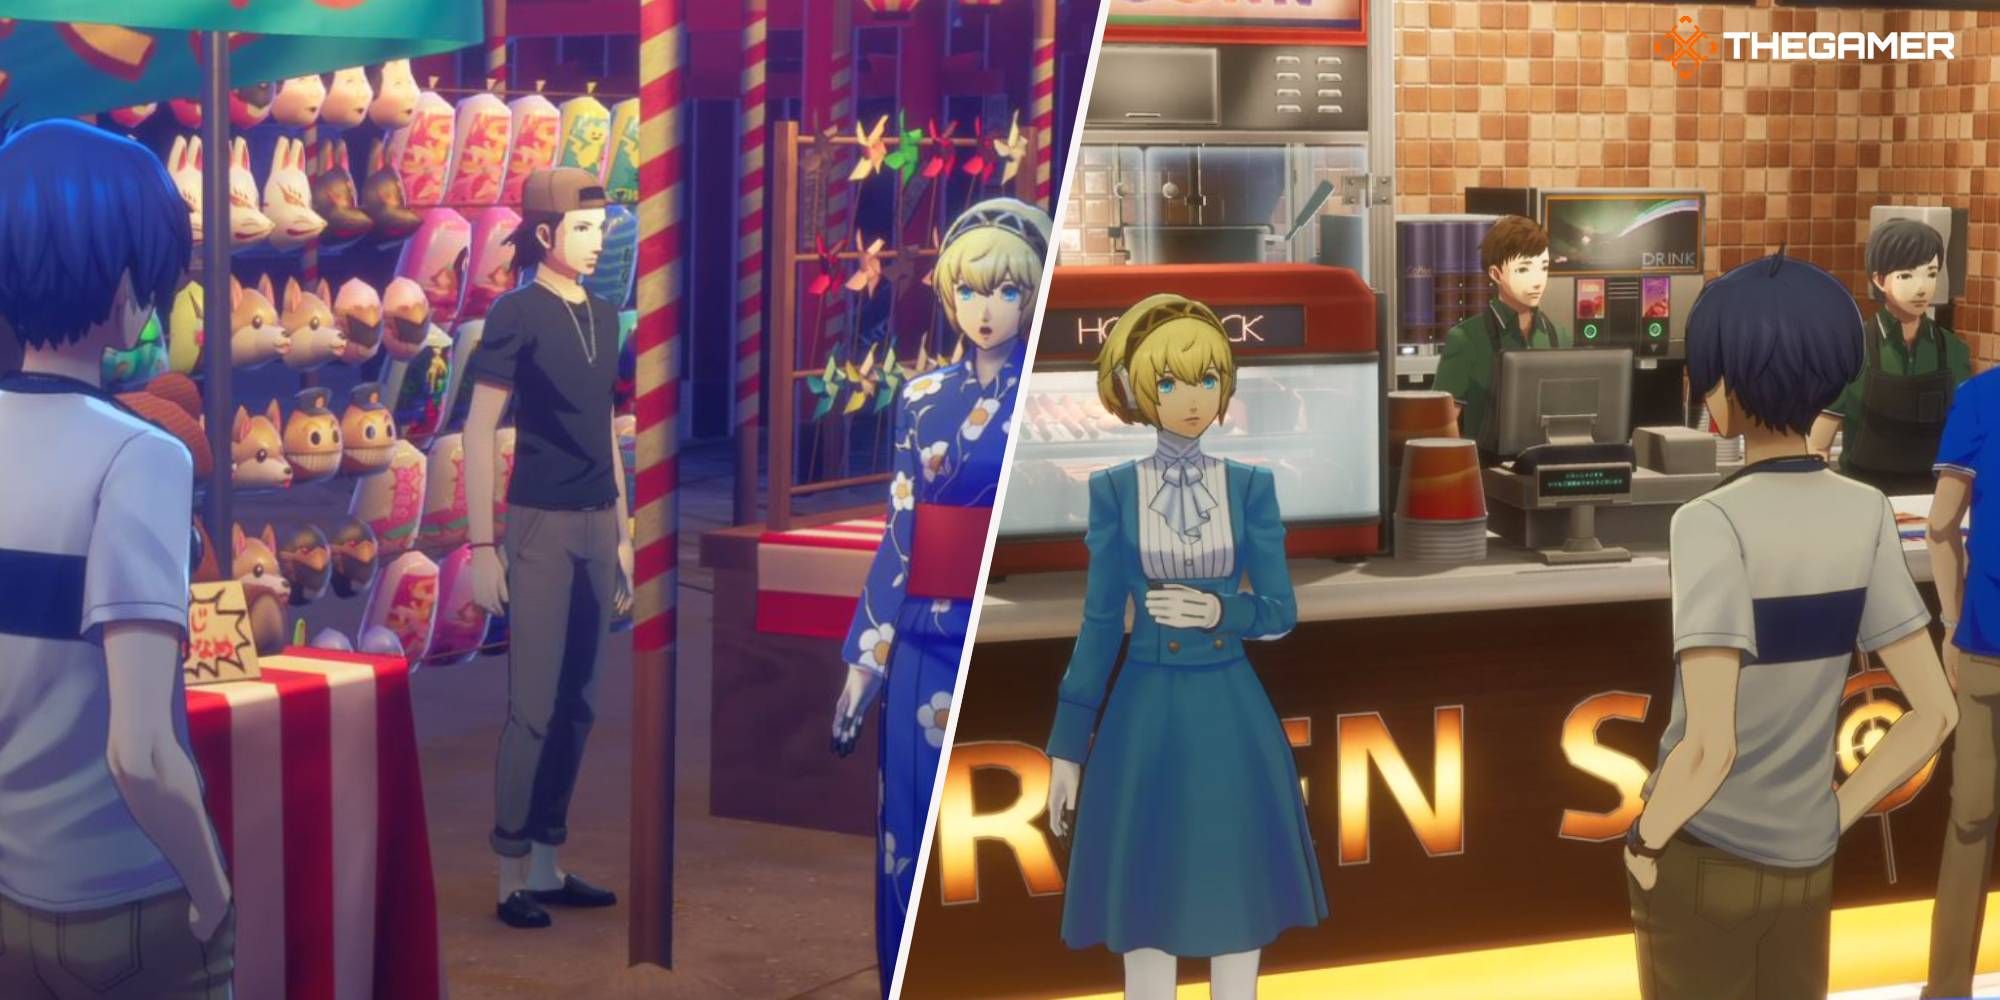
『ペルソナ3リロード』でSEESの活動と一緒に結束してパワーアップしよう!

皮膚3リロードで見つけられる新しいエキサイティングなSEESの活動を発見しましょうゲームに独自で価値のある要素を加えるこれ...

『Remnant 2 難易度の変更方法』 In this guide, we’ll be talking about how to change the difficulty in Remnant 2. Now, I know what you’re thinking. Why would I want to make the game harder? I already have trouble beating it on easy! Well, my friend, sometimes we just want to challenge ourselves and see if we have what it takes to conquer the toughest of foes. So, without further ado, let’s dive into the world of difficulty settings! Step 1 Accessing the Options Menu First things first, we need to get to the options menu. This is usually located in the main menu of the game. Look for a little cogwheel icon or something similar. Once you’ve found it, give it a click or press the corresponding button on your controller. Step 2 Finding the Difficulty Settings Ah, the elusive difficulty settings. They like to hide in the darkest corners of the options menu, but fear not! We shall find them. Look for a section called Gameplay or Difficulty. It might be nested under another category like Settings or Audio. Once you’ve found it, give it a click or press the corresponding button. Step 3 Choosing Your Difficulty Now comes the fun part. You’ll be presented with a list of difficulty options, ranging from Easy to Insane. Choose your poison wisely, my friend. Remember, the higher the difficulty, the greater the challenge. And the greater the challenge, the sweeter the victory. Step 4 Confirming Your Choice Once you’ve made your selection, it’s time to seal the deal. Look for a button that says Apply or Confirm. Give it a click or press the corresponding button, and voila! Your game is now set to the new difficulty level. And there you have it, my fellow gamers. You now know how to change the difficulty in Remnant 2. So go forth, embrace the challenge, and may your victories be plentiful. Happy gaming!

「冒険をより致命的に、またはそれ以下にする」

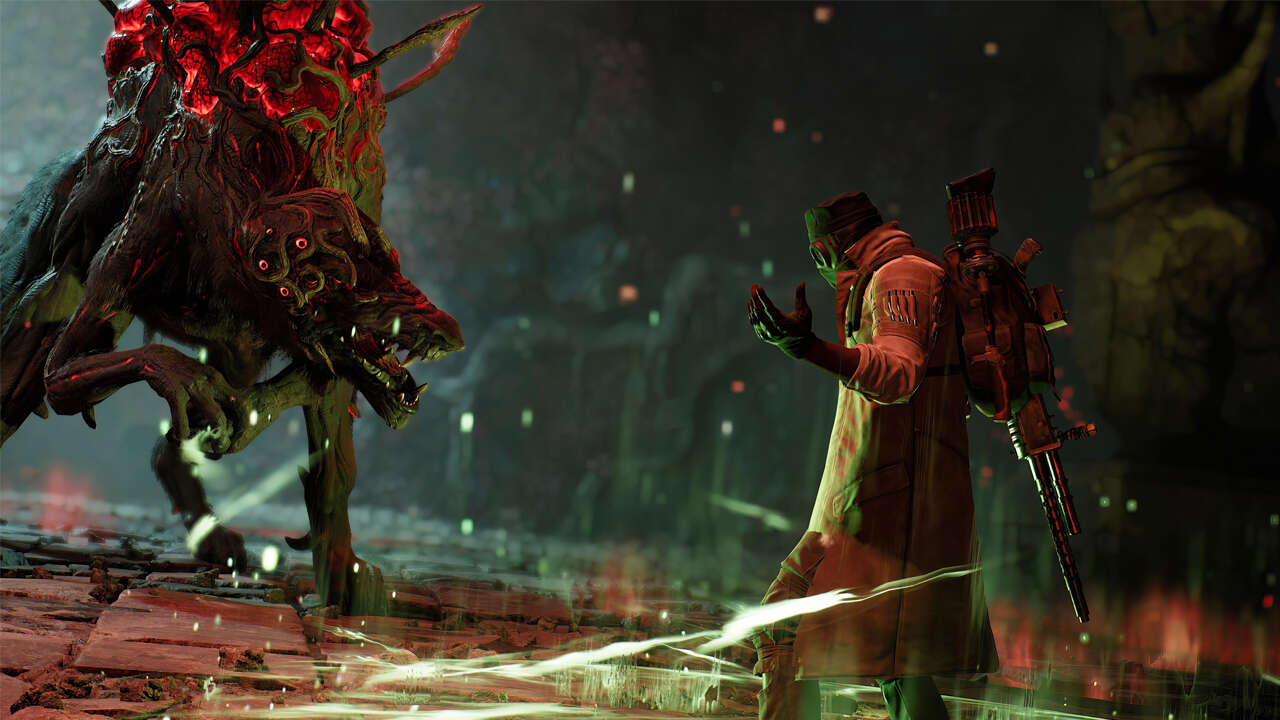
見逃しているかもしれない7つの協力ゲーム

『全てのゲームが初めから協力モードを備えているわけではありませんが、いくつかのタイトルは後にアップデートでこの機能を...

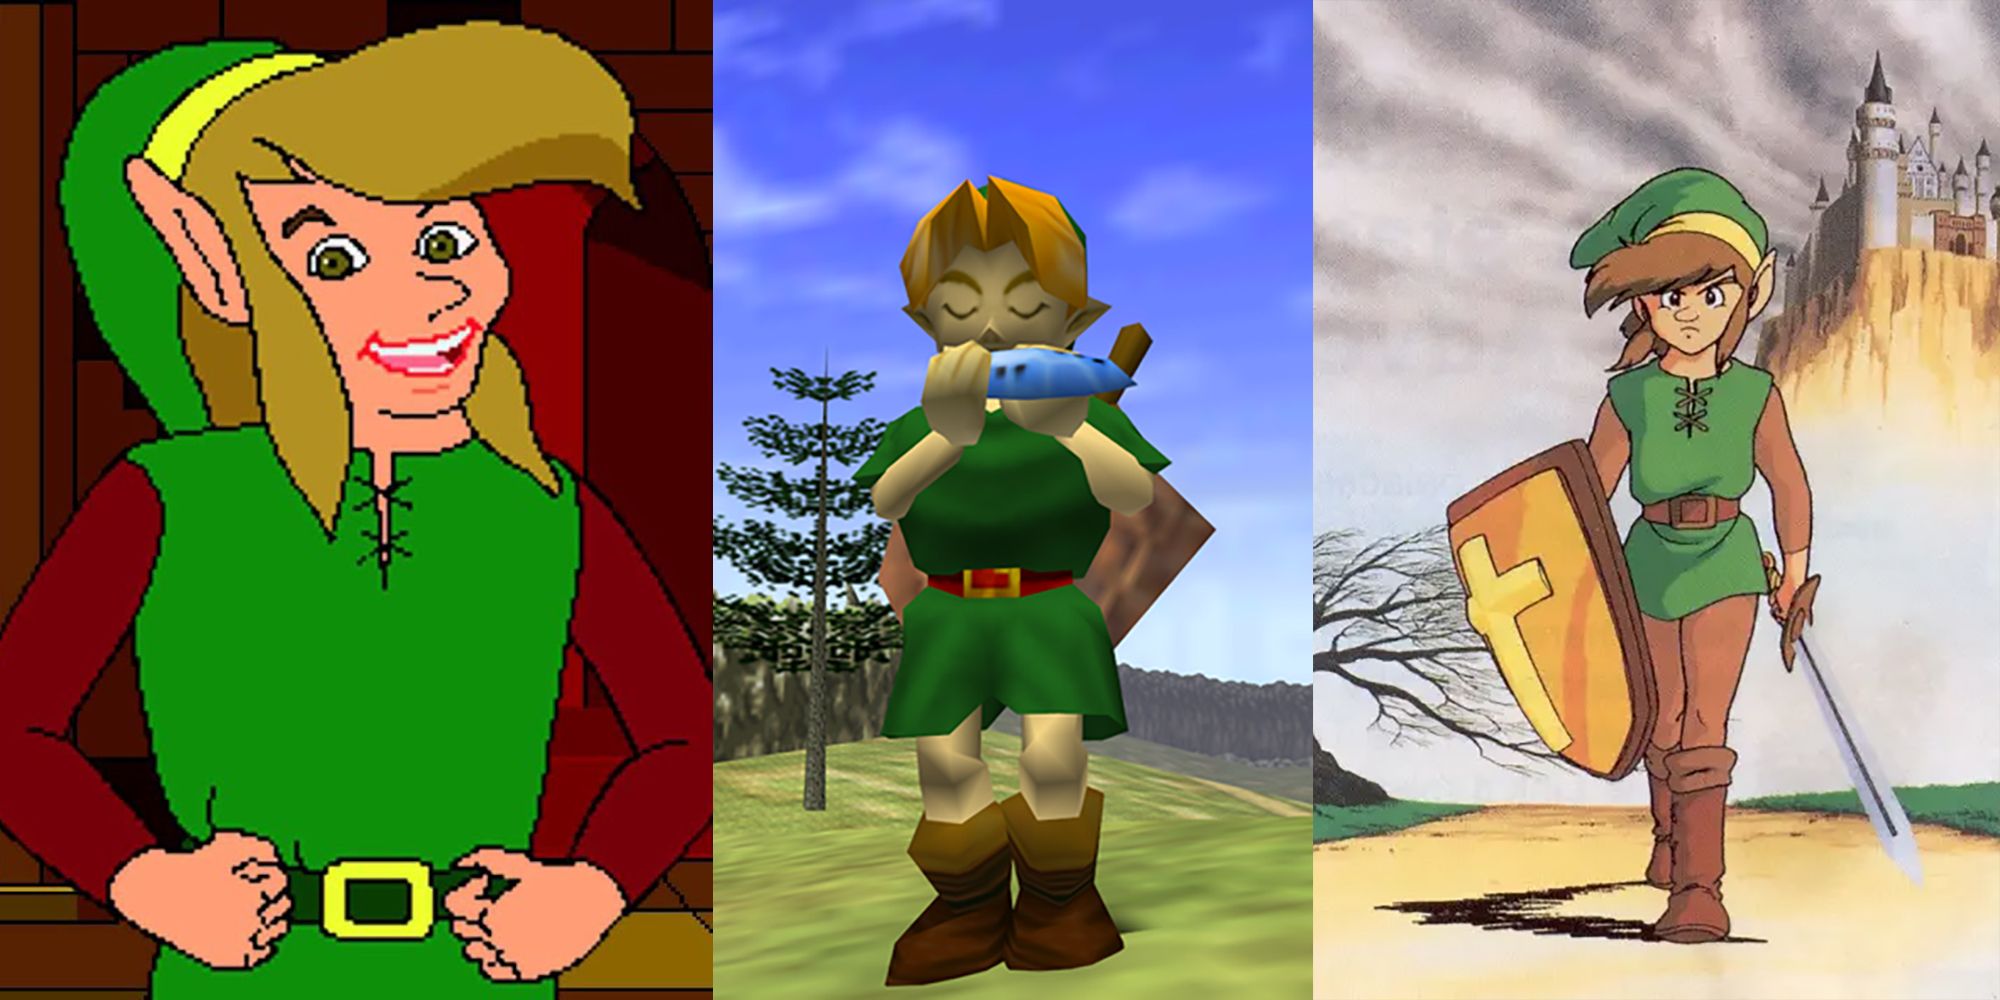
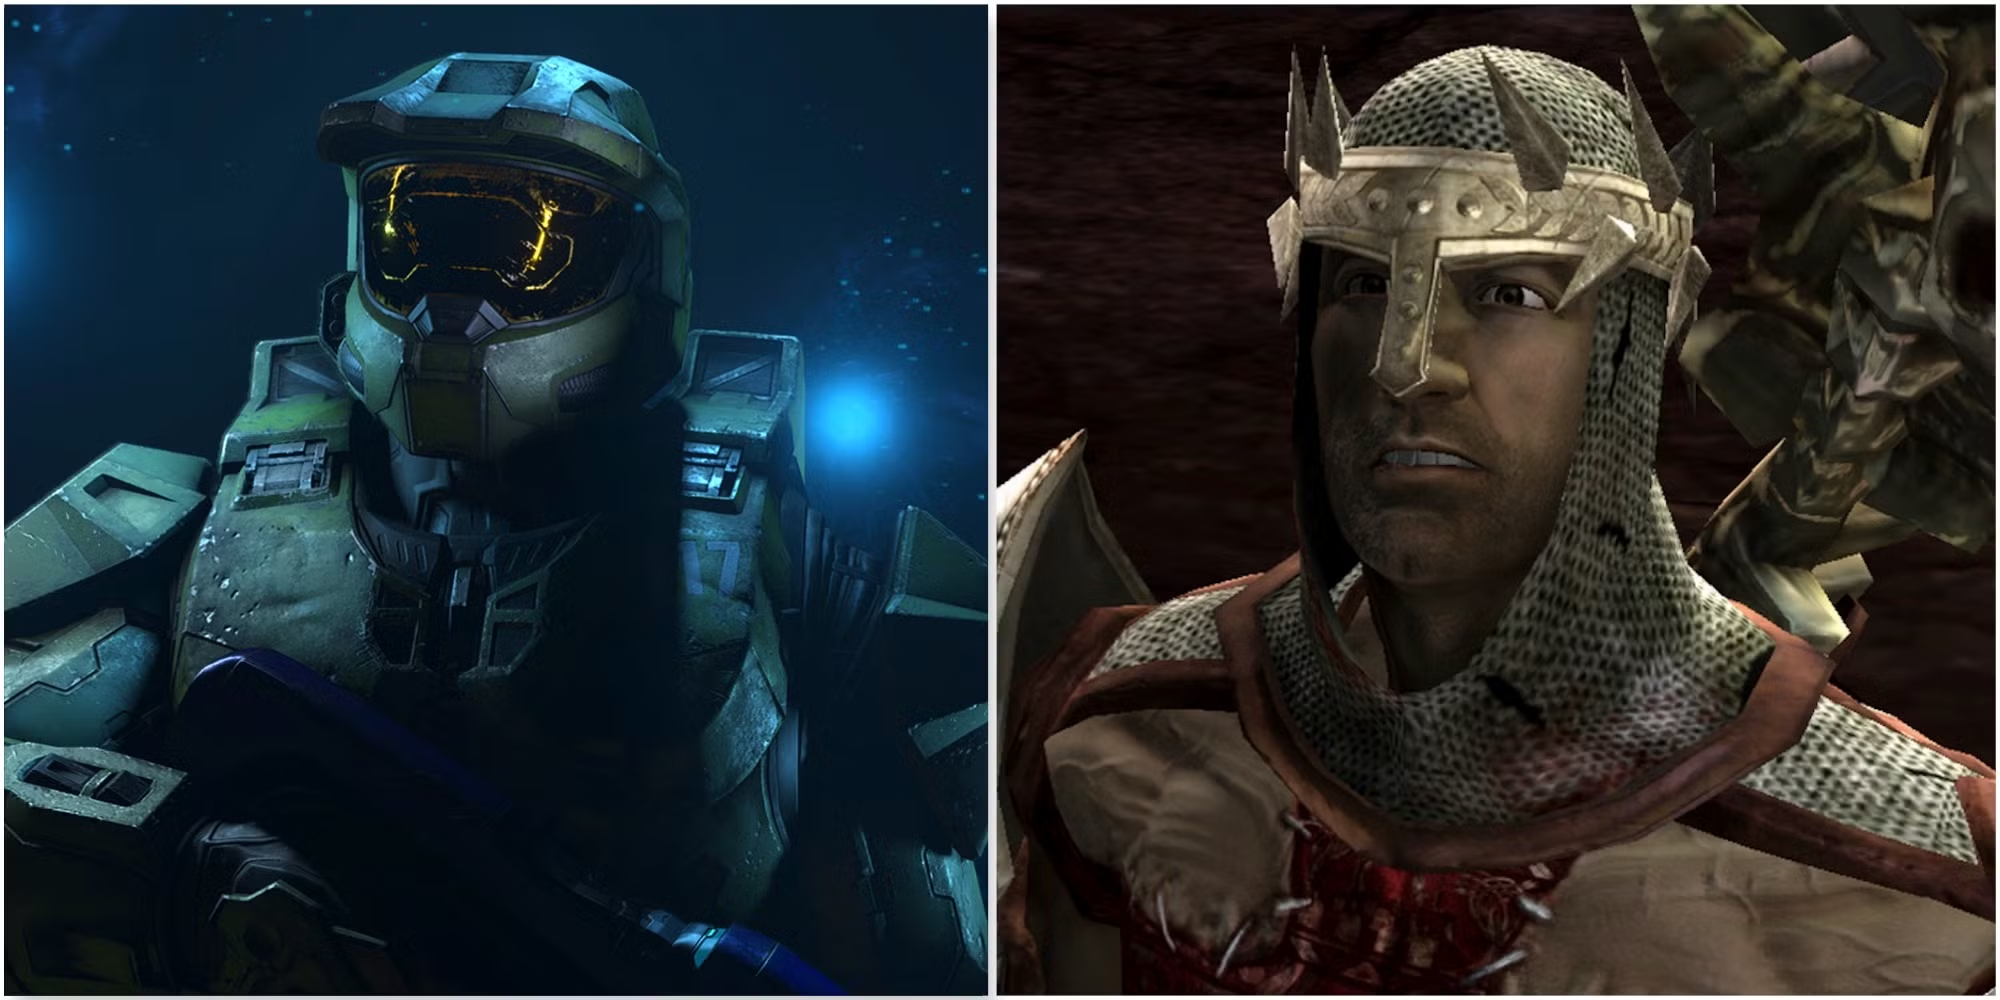
ゼルダの伝説シリーズの中で最も難しいゲーム:腕前と決断力の試練 🎮💥🐓

ゼルダの伝説のフランチャイズは時代の試練に耐え、典型的には過度に難しいとされる挑戦レベルがありませんそのため、これら...

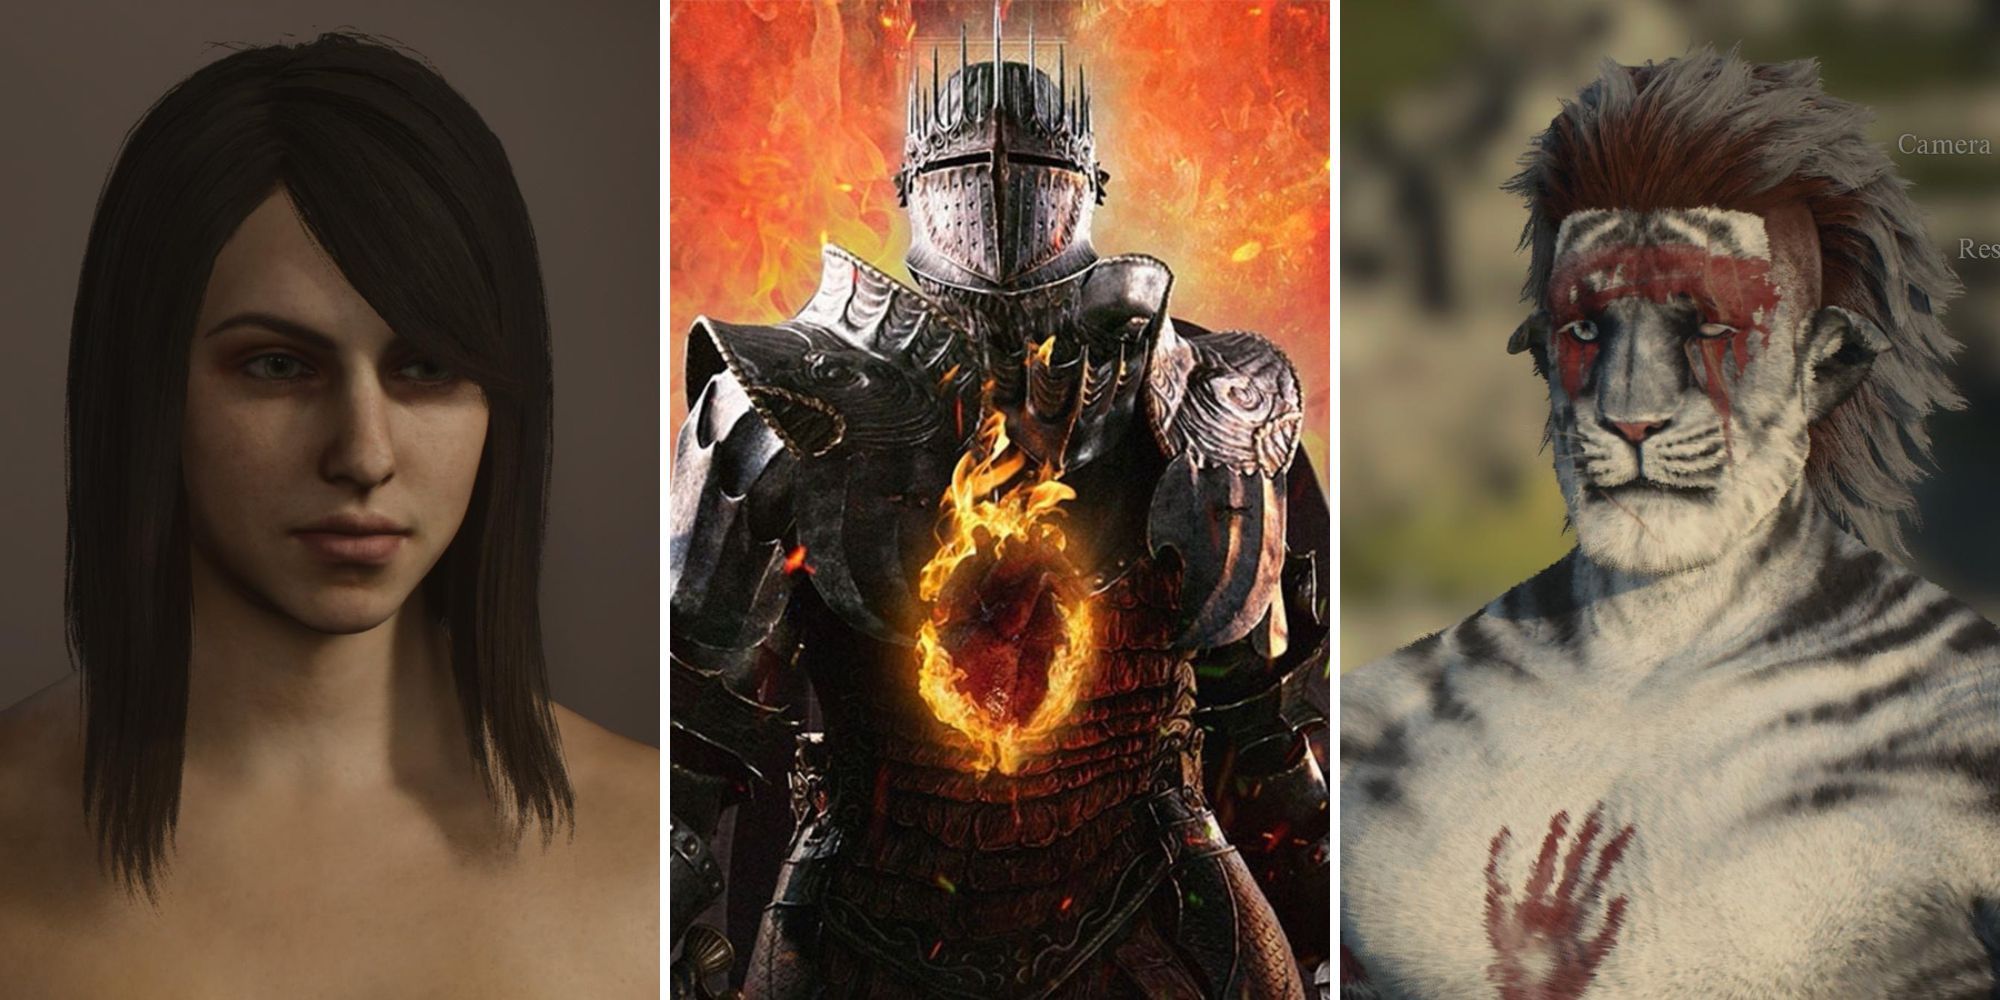
ドラゴンズドグマ2への願い プレイヤーの強化されたキャラクターカスタマイズオプションに対する願望

『ドラゴンズドグマ2』の発売予定日が先行公開され、その中でも期待が高まっていたキャラクター作成ツールの早期公開が発表...

ゲームの1年:2023年の振り返りと2024年以降の期待

2025年にGTA6の発売が予定されており、2024年がそのリリースを熱望していることから、大きな興奮が巻き起こっています楽しみ...