「スターフィールド:フォトモードの使い方と写真の撮り方」 In this guide, we will explore how to use the Photo Mode in Starfield and capture some amazing pictures of the game world. Whether you want to show off your space exploration skills or simply want to take stunning snapshots of the universe, this guide has got you covered. So grab your camera and let’s get started! Step 1 Accessing Photo Mode To access the Photo Mode in Starfield, simply press the designated button on your controller or keyboard. This will pause the game and bring up the Photo Mode interface, allowing you to manipulate the camera and adjust various settings. Step 2 Camera Controls Once in Photo Mode, you can freely move and rotate the camera to find the perfect angle for your shot. Use the controller’s analog sticks or the arrow keys on your keyboard to navigate. Experiment with different perspectives and compositions to create unique and visually interesting pictures. Step 3 Adjusting Settings In Photo Mode, you have the option to adjust various settings to enhance the look of your pictures. Play around with settings like depth of field, exposure, and filters to achieve the desired effect. Don’t be afraid to experiment and see what works best for your artistic vision. Step 4 Capturing the Moment When you’ve found the perfect shot, it’s time to capture the moment. Press the designated button to take a picture. You can take as many pictures as you want, so don’t hesitate to snap away and capture all the breathtaking views Starfield has to offer. Step 5 Sharing Your Masterpieces Once you’re satisfied with your pictures, it’s time to share them with the world. Starfield’s Photo Mode allows you to save your pictures to your console or PC, so you can easily access them later. You can also share your pictures on social media platforms to showcase your photography skills to fellow space adventurers. And there you have it! With these simple steps, you’ll be able to use the Photo Mode in Starfield like a pro and take stunning pictures of the game world. So go out there and capture the beauty of the universe in all its glory. Happy photographing!
Starfield How to Use Photo Mode and Take Great Pictures' In this guide, we'll show you how to use the Photo Mode in Starfield and capture amazing pictures of the game world. Whether you want to flaunt your space exploration skills or just take stunning snapshots of the universe, we've got you covered. So grab your camera and let's get started! Step 1 Accessing Photo Mode To access Photo Mode in Starfield, simply press the designated button on your controller or keyboard. This will pause the game and bring up the interface, allowing you to adjust the camera and settings. Step 2 Camera Controls In Photo Mode, move and rotate the camera freely to find the perfect angle. Use the analog sticks or arrow keys to navigate. Experiment with different perspectives and compositions for unique and visually interesting pictures. Step 3 Adjusting Settings In Photo Mode, you can enhance your pictures by adjusting various settings like depth of field, exposure, and filters. Play around and see what works best for your artistic vision. Step 4 Capturing the Moment When you've found the perfect shot, press the designated button to take a picture. Snap away and capture all the breathtaking views Starfield has to offer. Step 5 Sharing Your Masterpieces Save your pictures to your console or PC. Share them on social media platforms to showcase your photography skills to fellow space adventurers. And there you have it! With these simple steps, you'll be able to use Photo Mode in Starfield like a pro and take stunning pictures of the game world. So go out there and capture the beauty of the universe in all its glory. Happy photographing!
クイックリンク
- 写真モードのアンロック方法
- 写真モードの使い方
- 写真の撮り方
スターフィールドには、プレイヤーが探索できるさまざまな機能がたくさんありますが、特にゲーマーが楽しむことができるものがあります。写真モードはますます人気が高くなっており、そのため最近ではほとんどの開発者がゲームに組み込んでいます。プレイヤーはスターフィールドに独自の写真モードがあることを知って喜ぶでしょう、そしてそれは非常に充実しています。
関連記事:スターフィールド:アイテムをお気に入りに追加する方法
スターフィールドの写真モードにはいくつかのカテゴリがあり、それぞれのカテゴリにはプレイヤーが好みに合わせて完全に変更できるさまざまなカスタマイズオプションがあります。このガイドでは、写真モードのアンロックと使用方法、およびすべてのカスタマイズオプションを含め、スターフィールドの写真モードについてプレイヤーが知る必要があるすべてを紹介します。
写真モードのアンロック方法
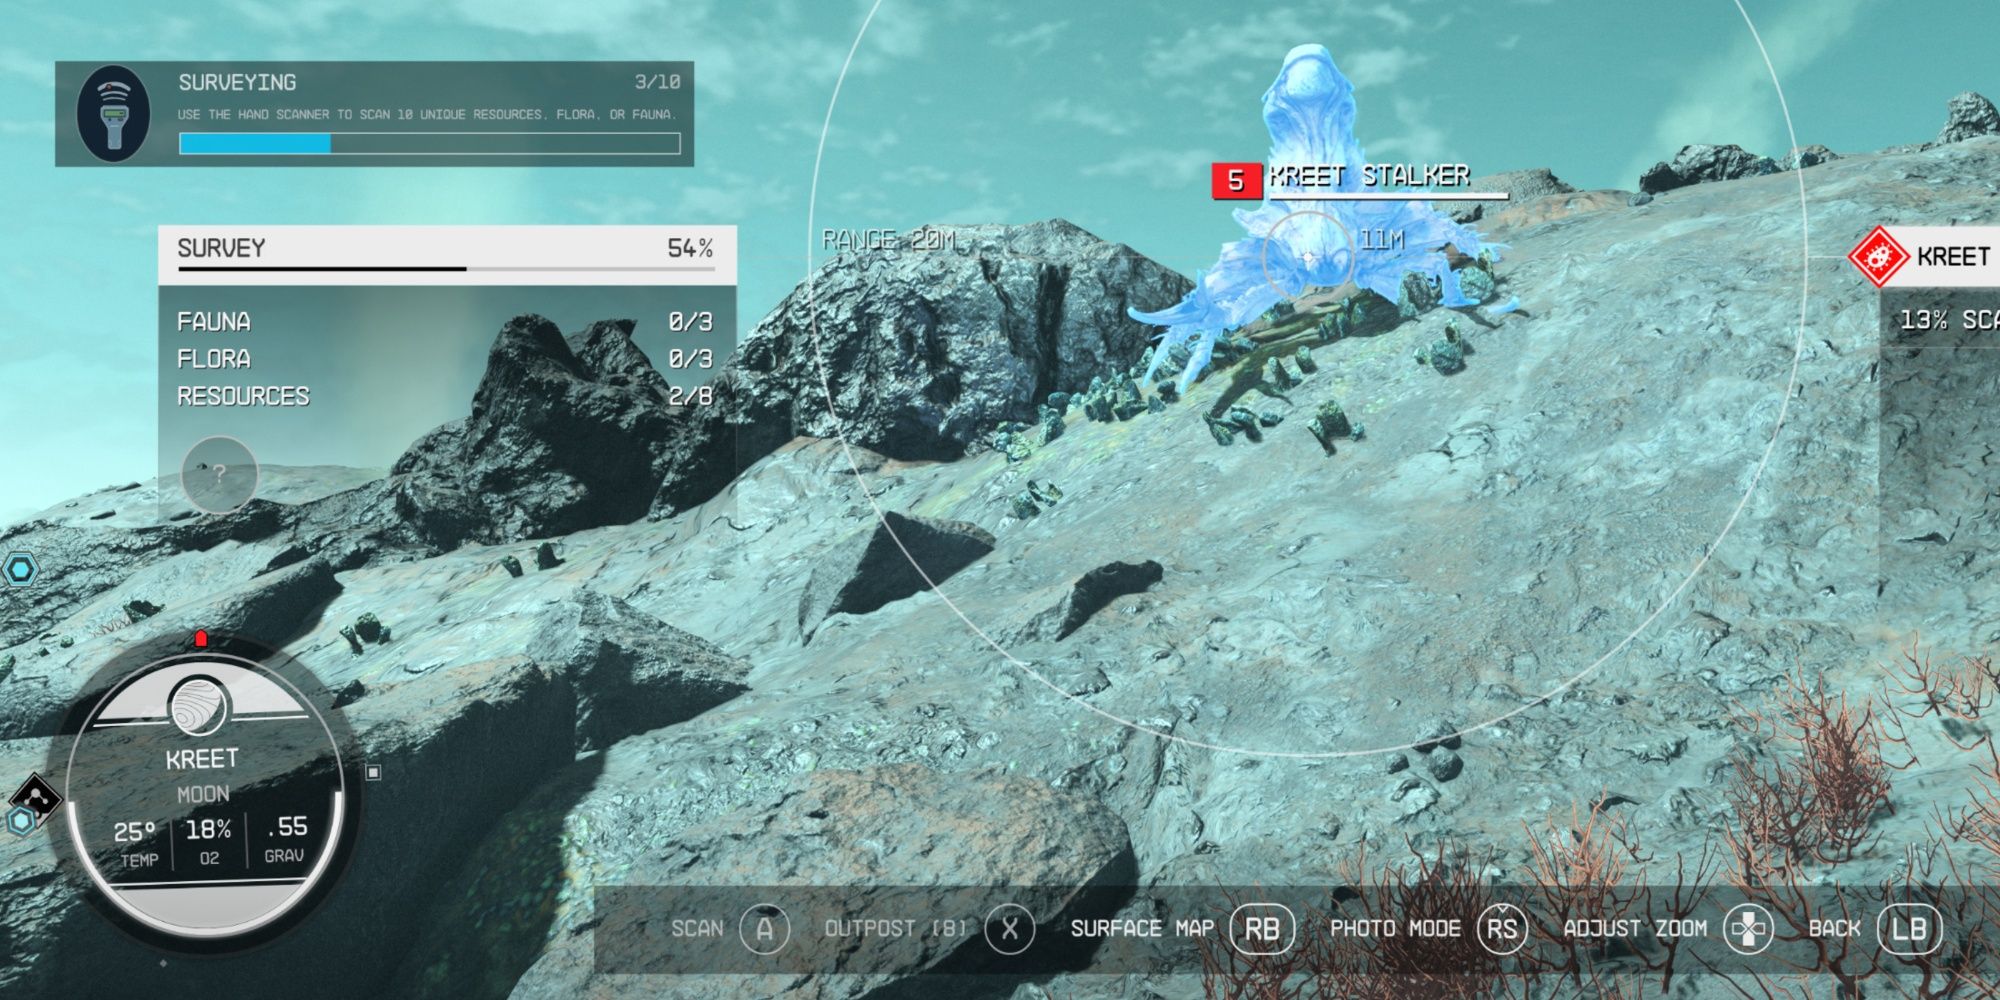
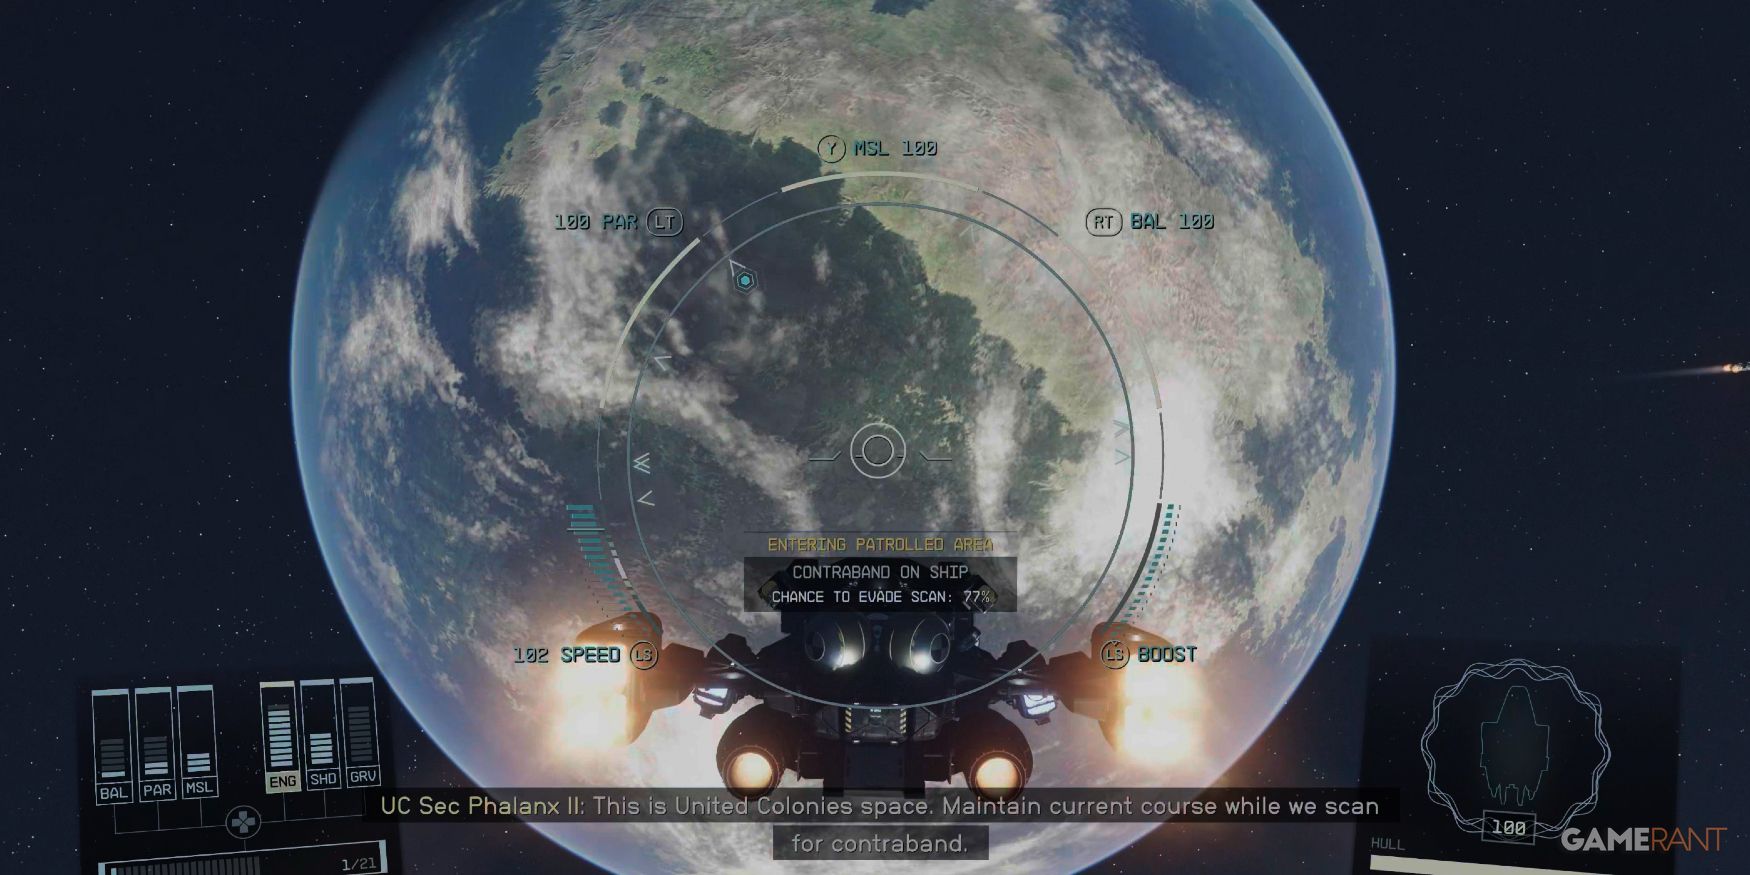
スターフィールドでは、写真モードがかなり早い段階でアンロックされるため、ゲーマーは自分の宇宙冒険の写真を撮るのを待つ必要はありません。ゲーマーが初めてクリートに着陸すると、そしてスキャナーにアクセスできるようになった時点で、写真モードも使用できるようになります。
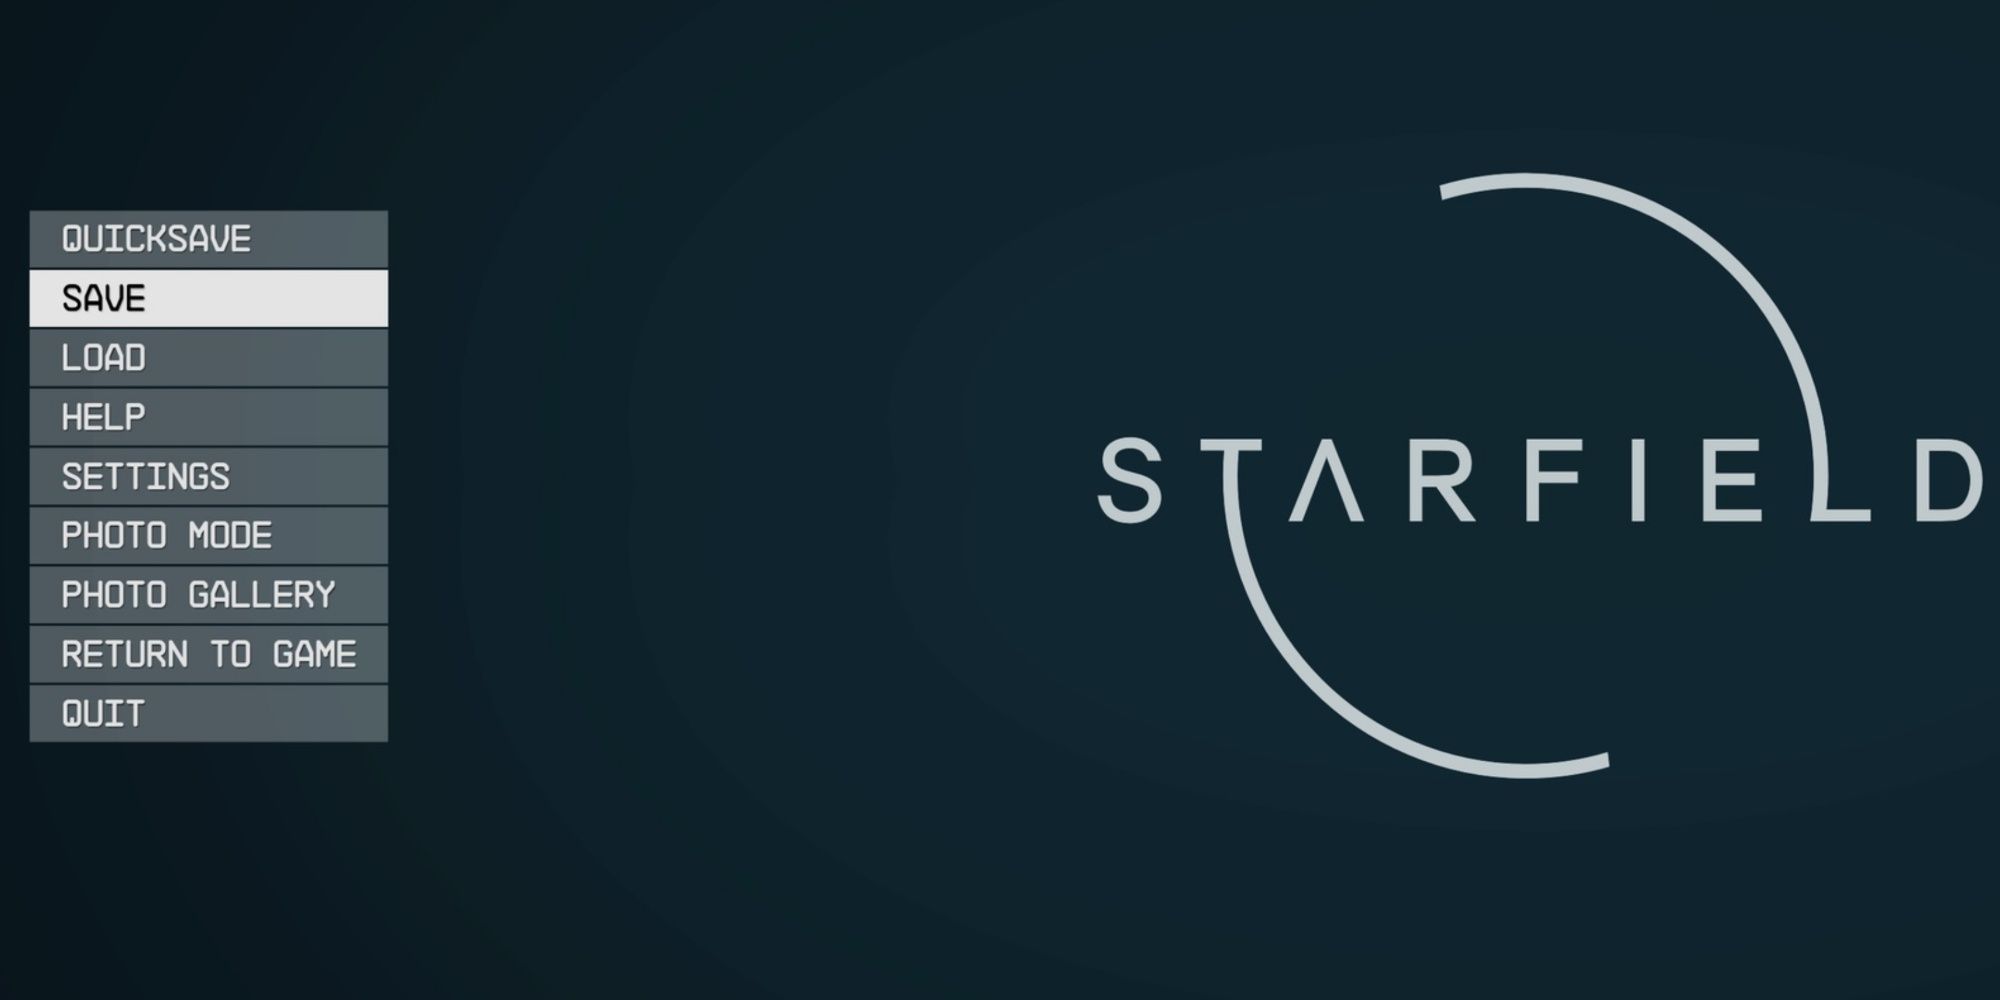
プレイヤーは、スキャナーを開いて写真モードオプションを選択するか、一時停止してシステムメニューに入り、写真モードを選択することで、写真モードメニューを開くことができます。
写真モードの使い方
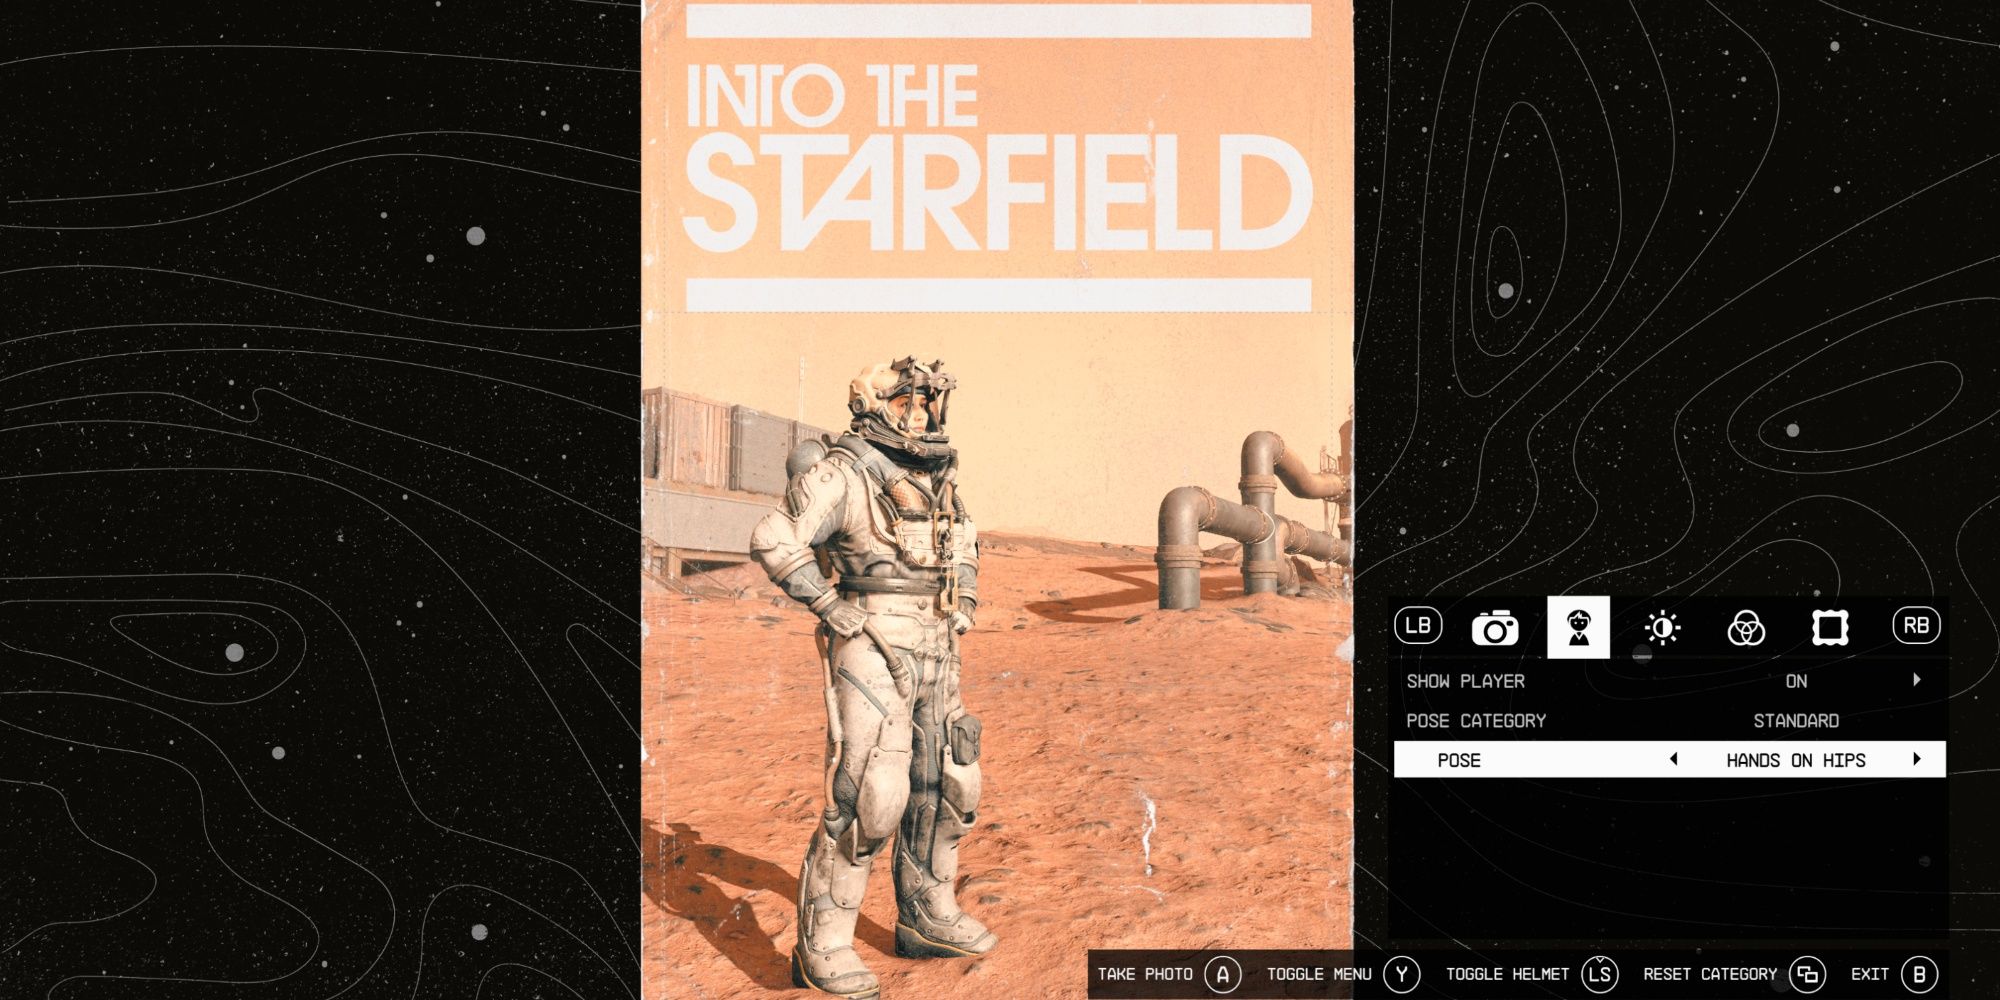
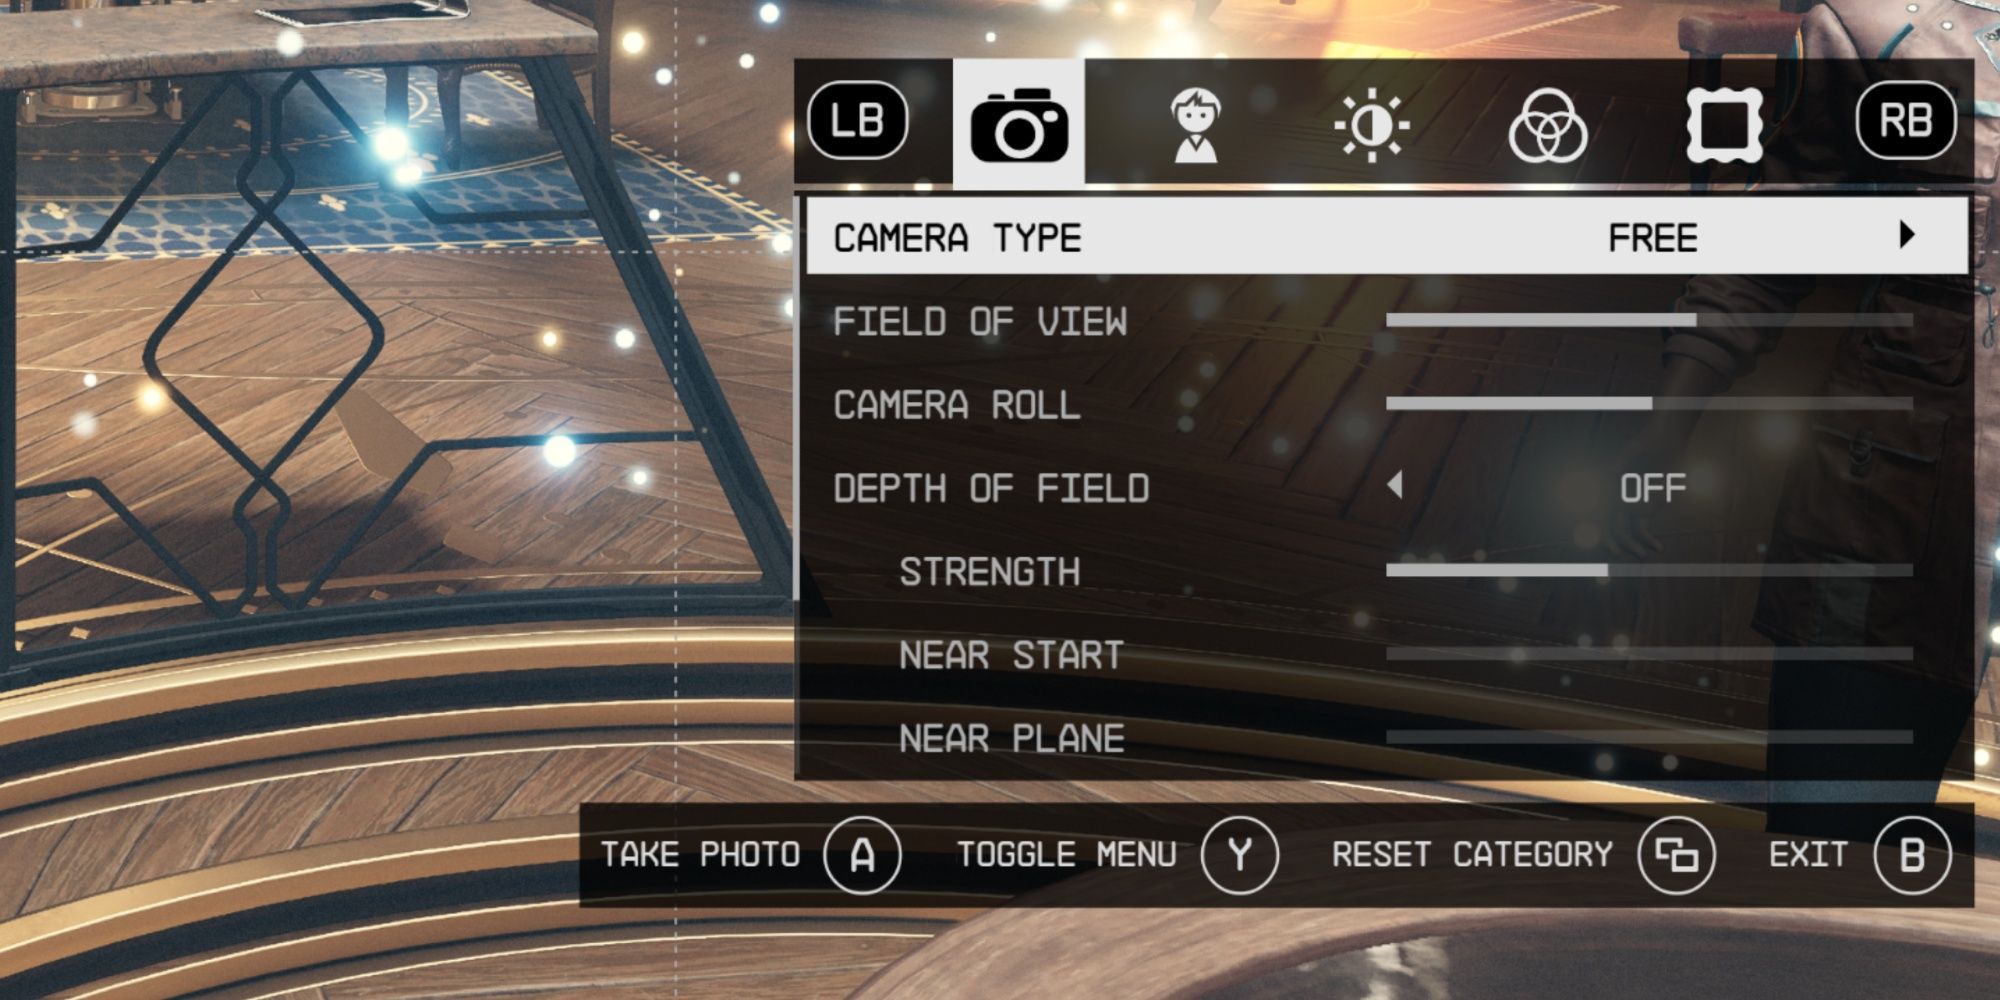
ゲーム内で写真を撮るのが好きなゲーマーは、スターフィールドの写真モードを楽しむでしょう。さまざまなオプションが豊富で、フィルターやポーズ、アングルなどがありますので、それに没頭して長時間の宇宙写真撮影になることもあります。以下はすべての写真モードオプションです:
|
カテゴリー |
オプション |
|---|---|
|
カメラオプション |
|
|
キャラクターオプション |
|
|
明るさオプション |
|
|
フィルターオプション |
|
|
フレームオプション |
|
特定のフォトモードのカテゴリに対して行った変更に満足していない場合、リセットカテゴリボタンを押すとデフォルトに戻すことができます。
写真の撮り方

Starfieldのフォトモードでは、写真を撮る方法が2つあります。 ゲーマーはスクリーンショットを撮るか、それを個人のStarfieldフォトギャラリーに保存することができます。
フォトギャラリー
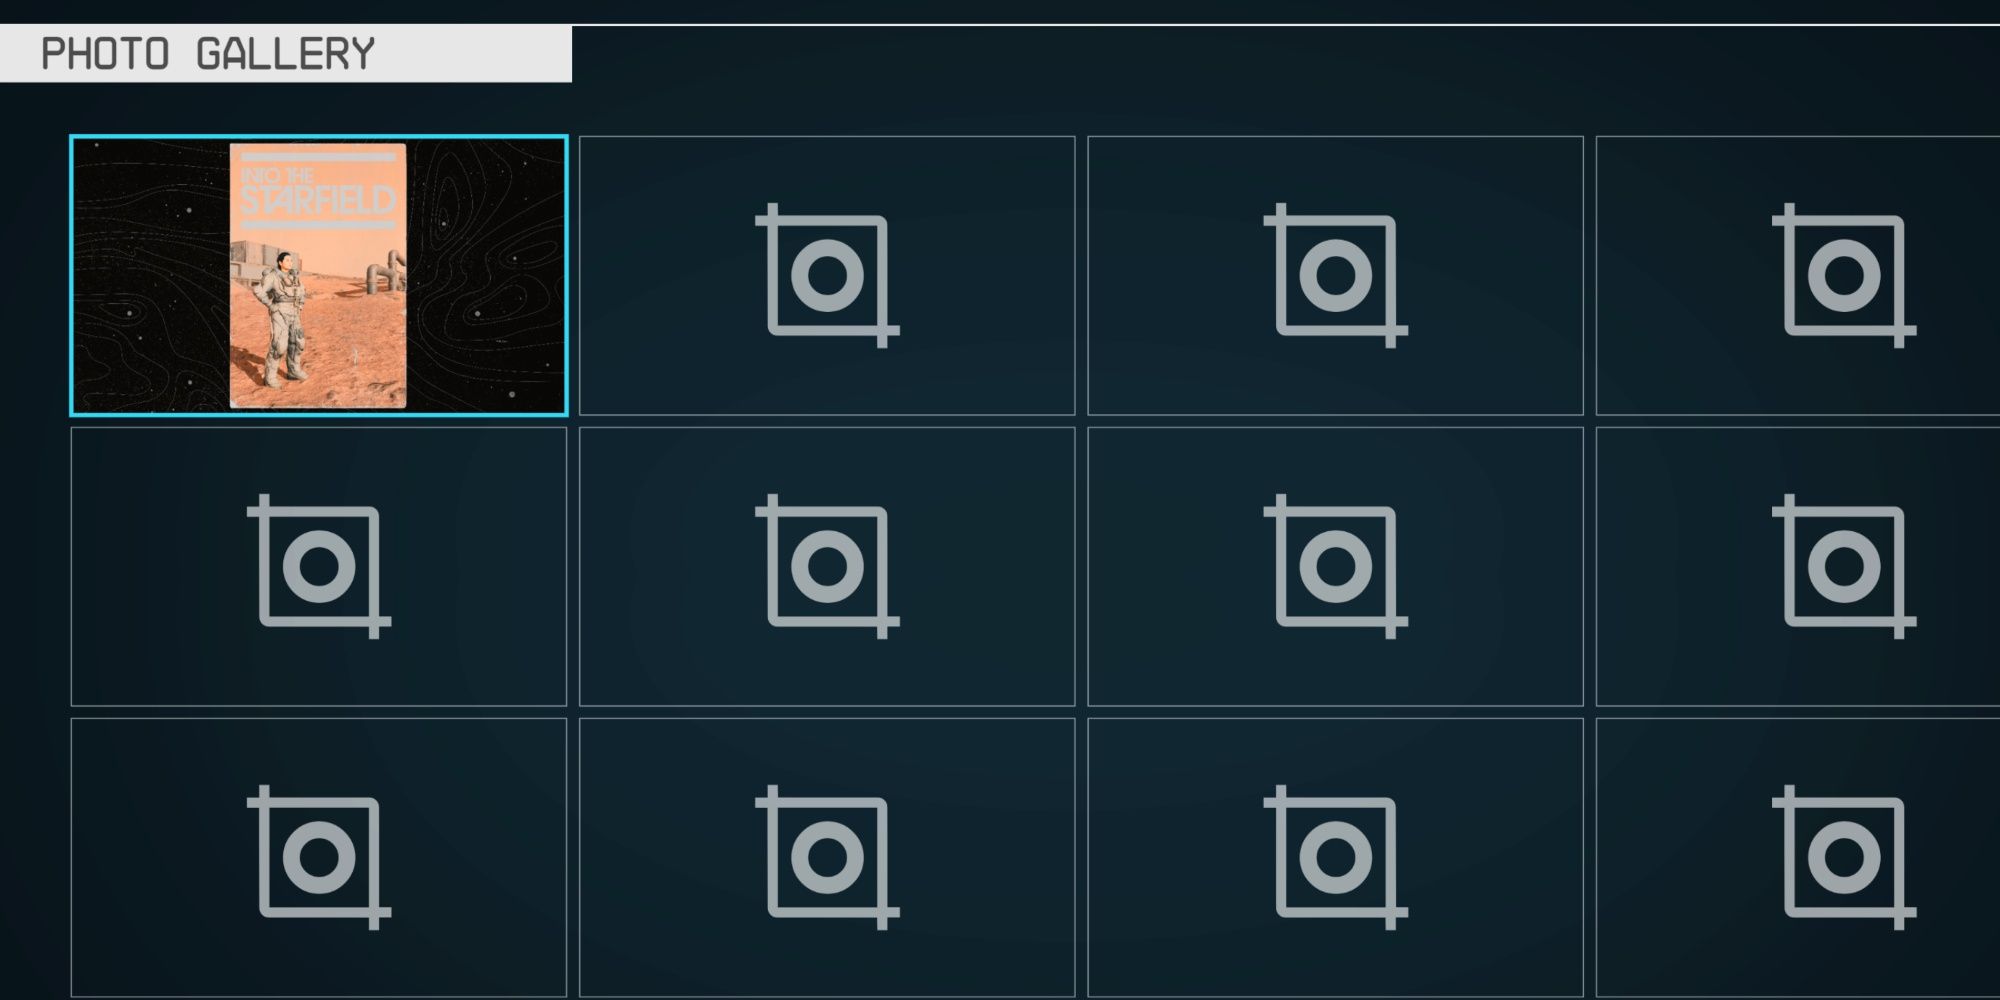
フォトモードを使用している間、ゲーマーは「写真を撮る」オプションを使用して、自動的にゲーム内のフォトギャラリーに送られる写真を撮ることができます。
プレイヤーはシステムメニューのフォトモードオプションのすぐ下にあるフォトギャラリーにアクセスすることができます。ここでは、以前にフォトモードで撮影したすべての写真を確認することができます。
スクリーンショット
ゲーマーはゲーム以外の場所で写真をスクリーンショットして保存したい場合、非常に簡単に行うことができます。フォトモードを使用している間、ゲーマーはメニューを切り替えることができます。これにより、フォトモードの設定と画像グリッドが非表示になり、UIオプションの痕跡なしで写真を撮ることができます。
また、フォトギャラリーに保存された画像のスクリーンショットも撮ることができます。プレイヤーは好きな画像を選択し、拡大してからUIを非表示にすることができます。Toggle Menuオプションと同様に、UIテキストとオプションのすべてが非表示になり、クリーンなスクリーンショットを撮ることができます。
StarfieldはPCおよびXboxシリーズX/Sで現在利用可能です。